The Complete Guide to Preparing Your Quilt Top for Professional Longarm Quilting Services
Master the essential steps to prepare your quilt top for professional longarm quilting services. From proper seam basting to pressing techniques, ensure flawless results every time.
Transform your handcrafted quilt top into a stunning masterpiece with proper preparation techniques that ensure flawless longarm quilting results
Introduction: Why Proper Quilt Top Preparation Makes All the Difference
After spending countless hours carefully piecing together your beautiful quilt top, the last thing you want is for poor preparation to compromise the final result. Professional longarm quilting can transform your handmade creation into a stunning heirloom, but only when your quilt top is properly prepared for the process.
Whether you're a seasoned quilter or completing your first major project, understanding how to prepare your quilt top for longarm quilting services is essential for achieving professional results. This comprehensive guide will walk you through every step, from initial inspection to final pressing, ensuring your quilt receives the beautiful finishing it deserves.
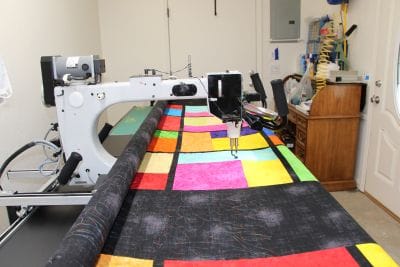
What is Longarm Quilting and Why Choose Professional Services?
Longarm quilting uses specialized machines that can create intricate quilting patterns across large quilt surfaces with precision and consistency that's difficult to achieve with home sewing machines. Professional longarm quilting services offer:
- Enhanced texture and dimension that brings your quilt design to life
- Consistent stitch quality across the entire quilt surface
- Time savings compared to hand quilting or domestic machine quilting
- Professional expertise in pattern selection and thread choices
- Ability to handle large quilts that won't fit on standard machines
Essential Steps for Preparing Your Quilt Top
Step 1: Thorough Quilt Top Inspection
Before your quilt top goes anywhere near a longarm machine, conduct a detailed inspection:
Check All Seams: Examine every seam on the outer edges of your quilt top. All seams should be basted approximately 1/8 inch from the edge to prevent them from opening during the longarm process. These basting stitches will be hidden once you attach the binding.
Verify Seam Integrity: Ensure all piecing seams have adequate 1/4-inch seam allowances and are properly backstitched. Once quilting is complete, piecing mistakes cannot be corrected.
Look for Damage: Check for any holes, tears, or weak spots that could worsen during quilting.
Step 2: Thread Management and Clean-Up
Remove All Loose Threads: This step is crucial, especially if your quilt features light-colored fabrics. Dark threads will create visible shadows through lighter materials once quilting is complete.
Check for Fraying: Examine all fabric edges for fraying and address any issues before proceeding.
Secure Appliqué Elements: If your quilt includes appliqué work, ensure all edges are properly secured and won't lift during the quilting process.
Step 3: Achieving Perfect Squareness
One of the most critical aspects of quilt top preparation is ensuring your quilt is perfectly square:
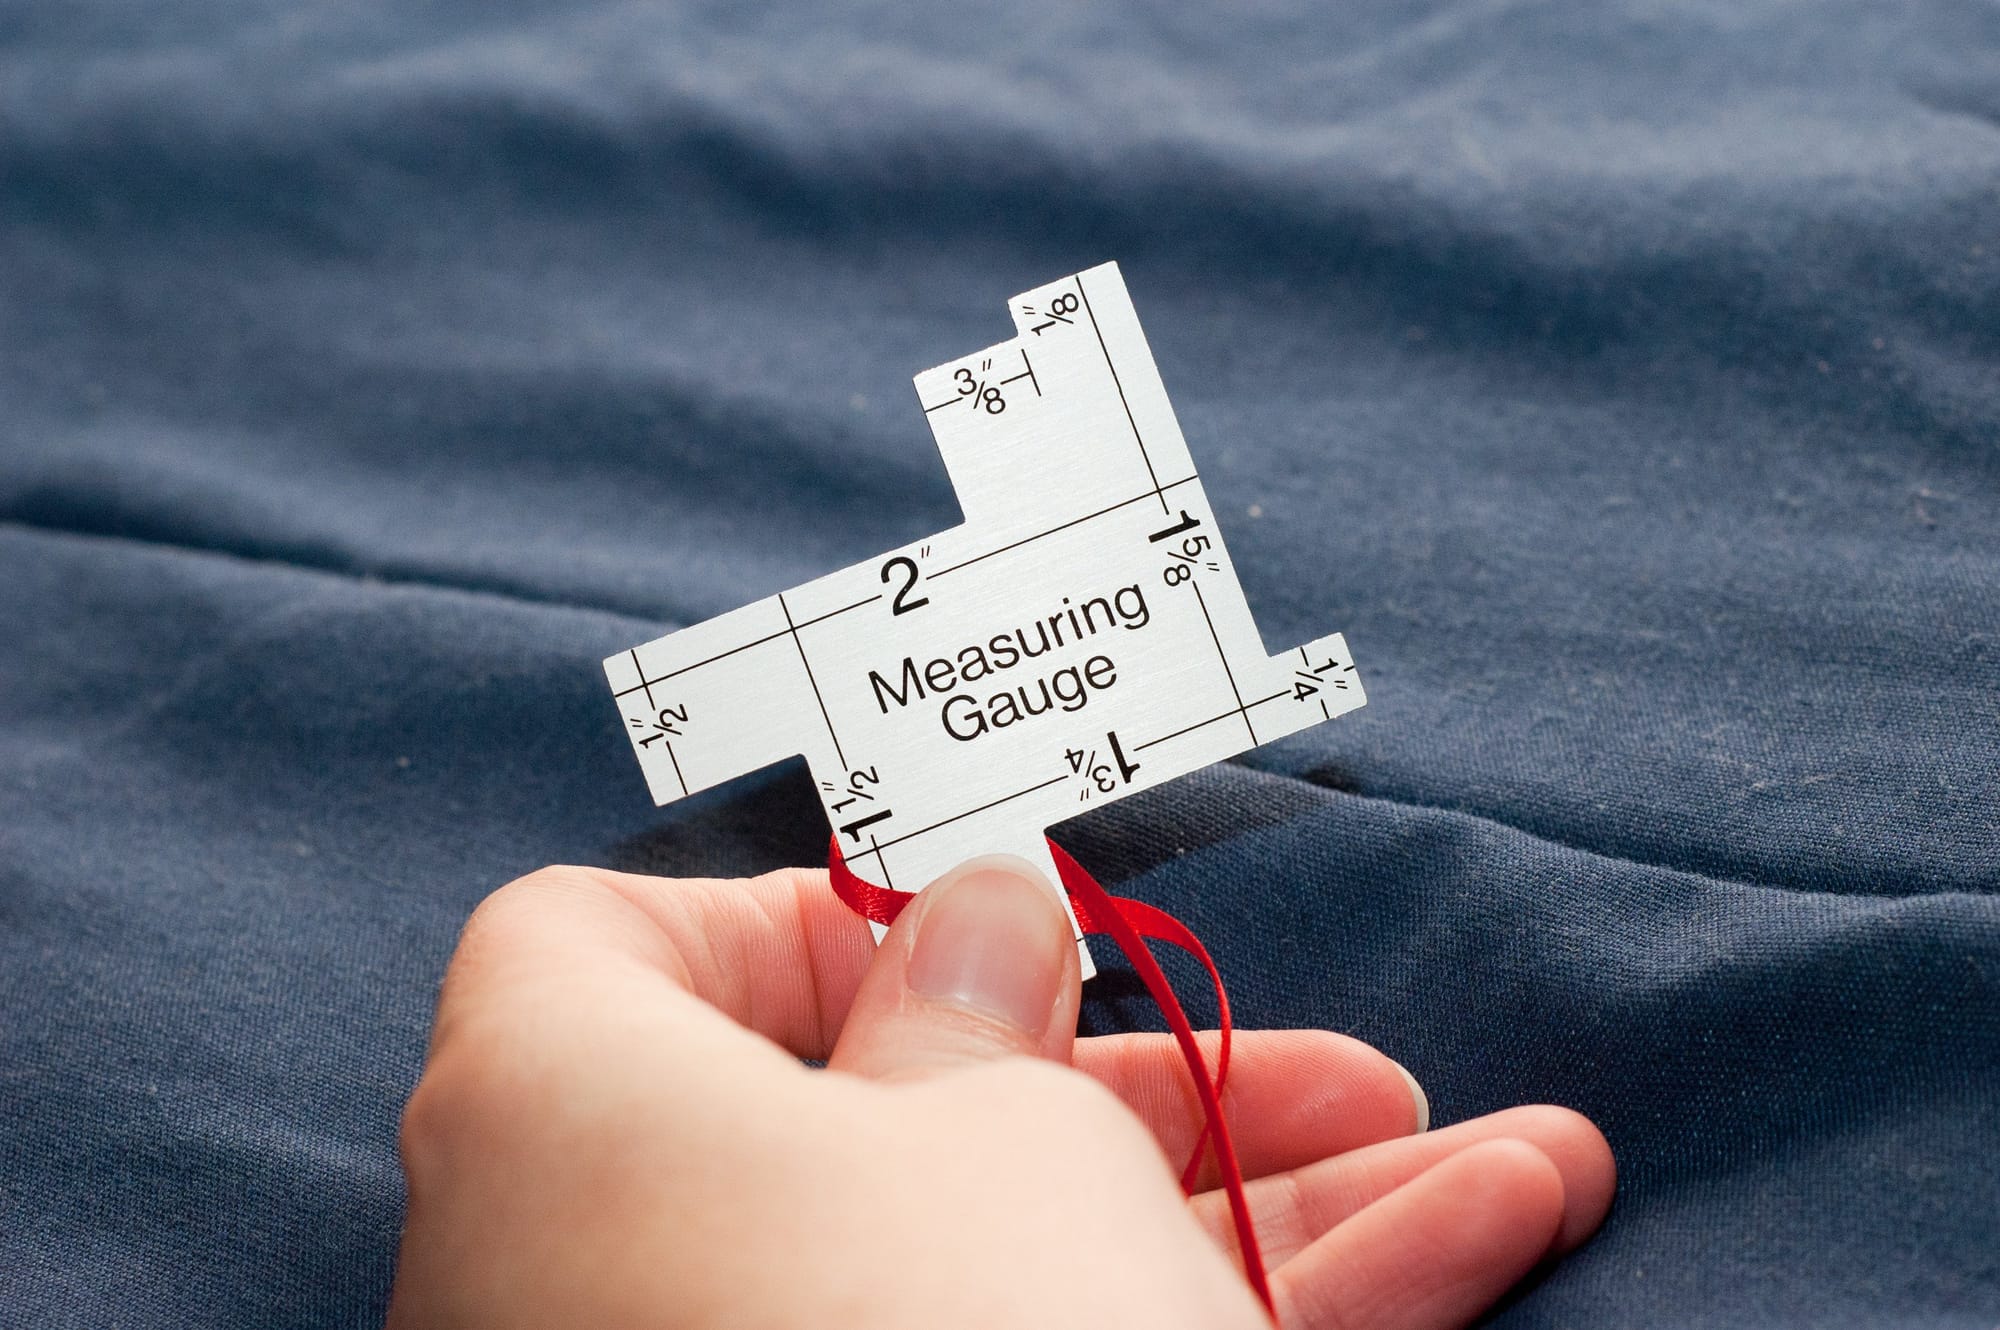
Measure All Sides: Use a large quilting ruler to verify that opposite sides are equal in length.
Check Corners: All corners should form true 90-degree angles.
Straighten Edges: Edges must be completely straight for proper loading onto the longarm machine. Wavy or curved edges will cause loading problems and affect the final result.
Address Border Issues: Incorrectly attached borders are a common cause of fullness and waves that interfere with quilting and can cause puckers or pleats.
Step 4: Professional Pressing Techniques
Proper pressing is essential for achieving a flat, professional finish:
Back Pressing First: Start by pressing the back of your quilt top to ensure all seams lie flat and are pressed in the correct direction.
Front Side Pressing: Follow with careful pressing of the front, using a pressing cloth if working with delicate fabrics.
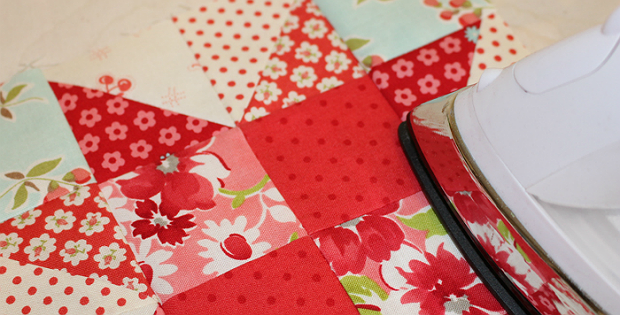
Steam and Starch: Consider using spray starch or fabric sizing products like Mary Ellen's Best Press for a crisp, professional finish.
Step 5: Final Preparation for Service
Mark Direction: If your quilt has a specific top and bottom orientation, use a safety pin to clearly mark which end is the top.
Avoid Pre-Basting: Don't baste your quilt layers together, as professional services will need to separate them for proper machine loading.
Clean Folding: If shipping your quilt, fold it neatly to minimize wrinkles.
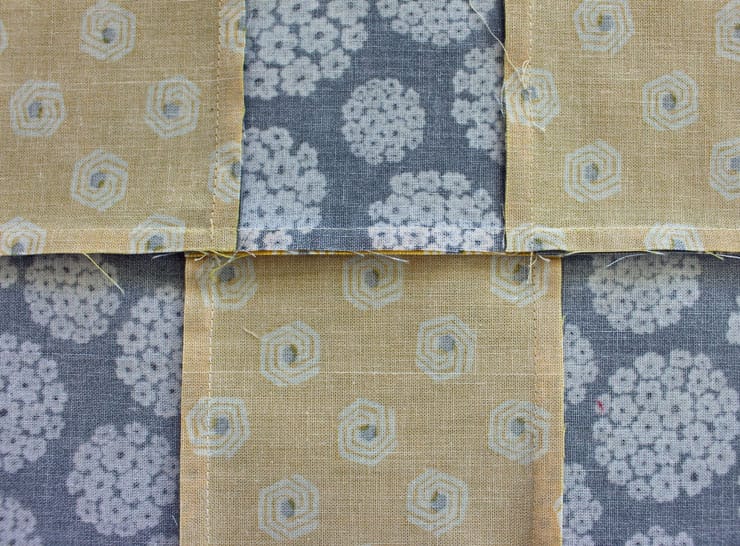
Advanced Techniques: Mastering Seam Nesting
Proper seam nesting is crucial for achieving flat, professional-looking intersections in your quilt top:
Understanding Seam Nesting
Seam nesting involves aligning adjoining seams so their allowances interlock, creating neat intersections without bulk. This technique is essential for:
- Reducing bulk at seam intersections
- Ensuring precise point matching
- Creating a flatter overall quilt surface
Nesting Technique Steps
- Accurate Cutting: Use rotary cutters and rulers for precise fabric pieces
- Strategic Pressing: Press seams in alternating directions to create nesting opportunities
- Proper Pinning: Use pins perpendicular to seam lines to prevent shifting
- Careful Alignment: Ensure nested seam allowances lock together before sewing
- Controlled Stitching: Sew slowly over nested intersections to maintain accuracy
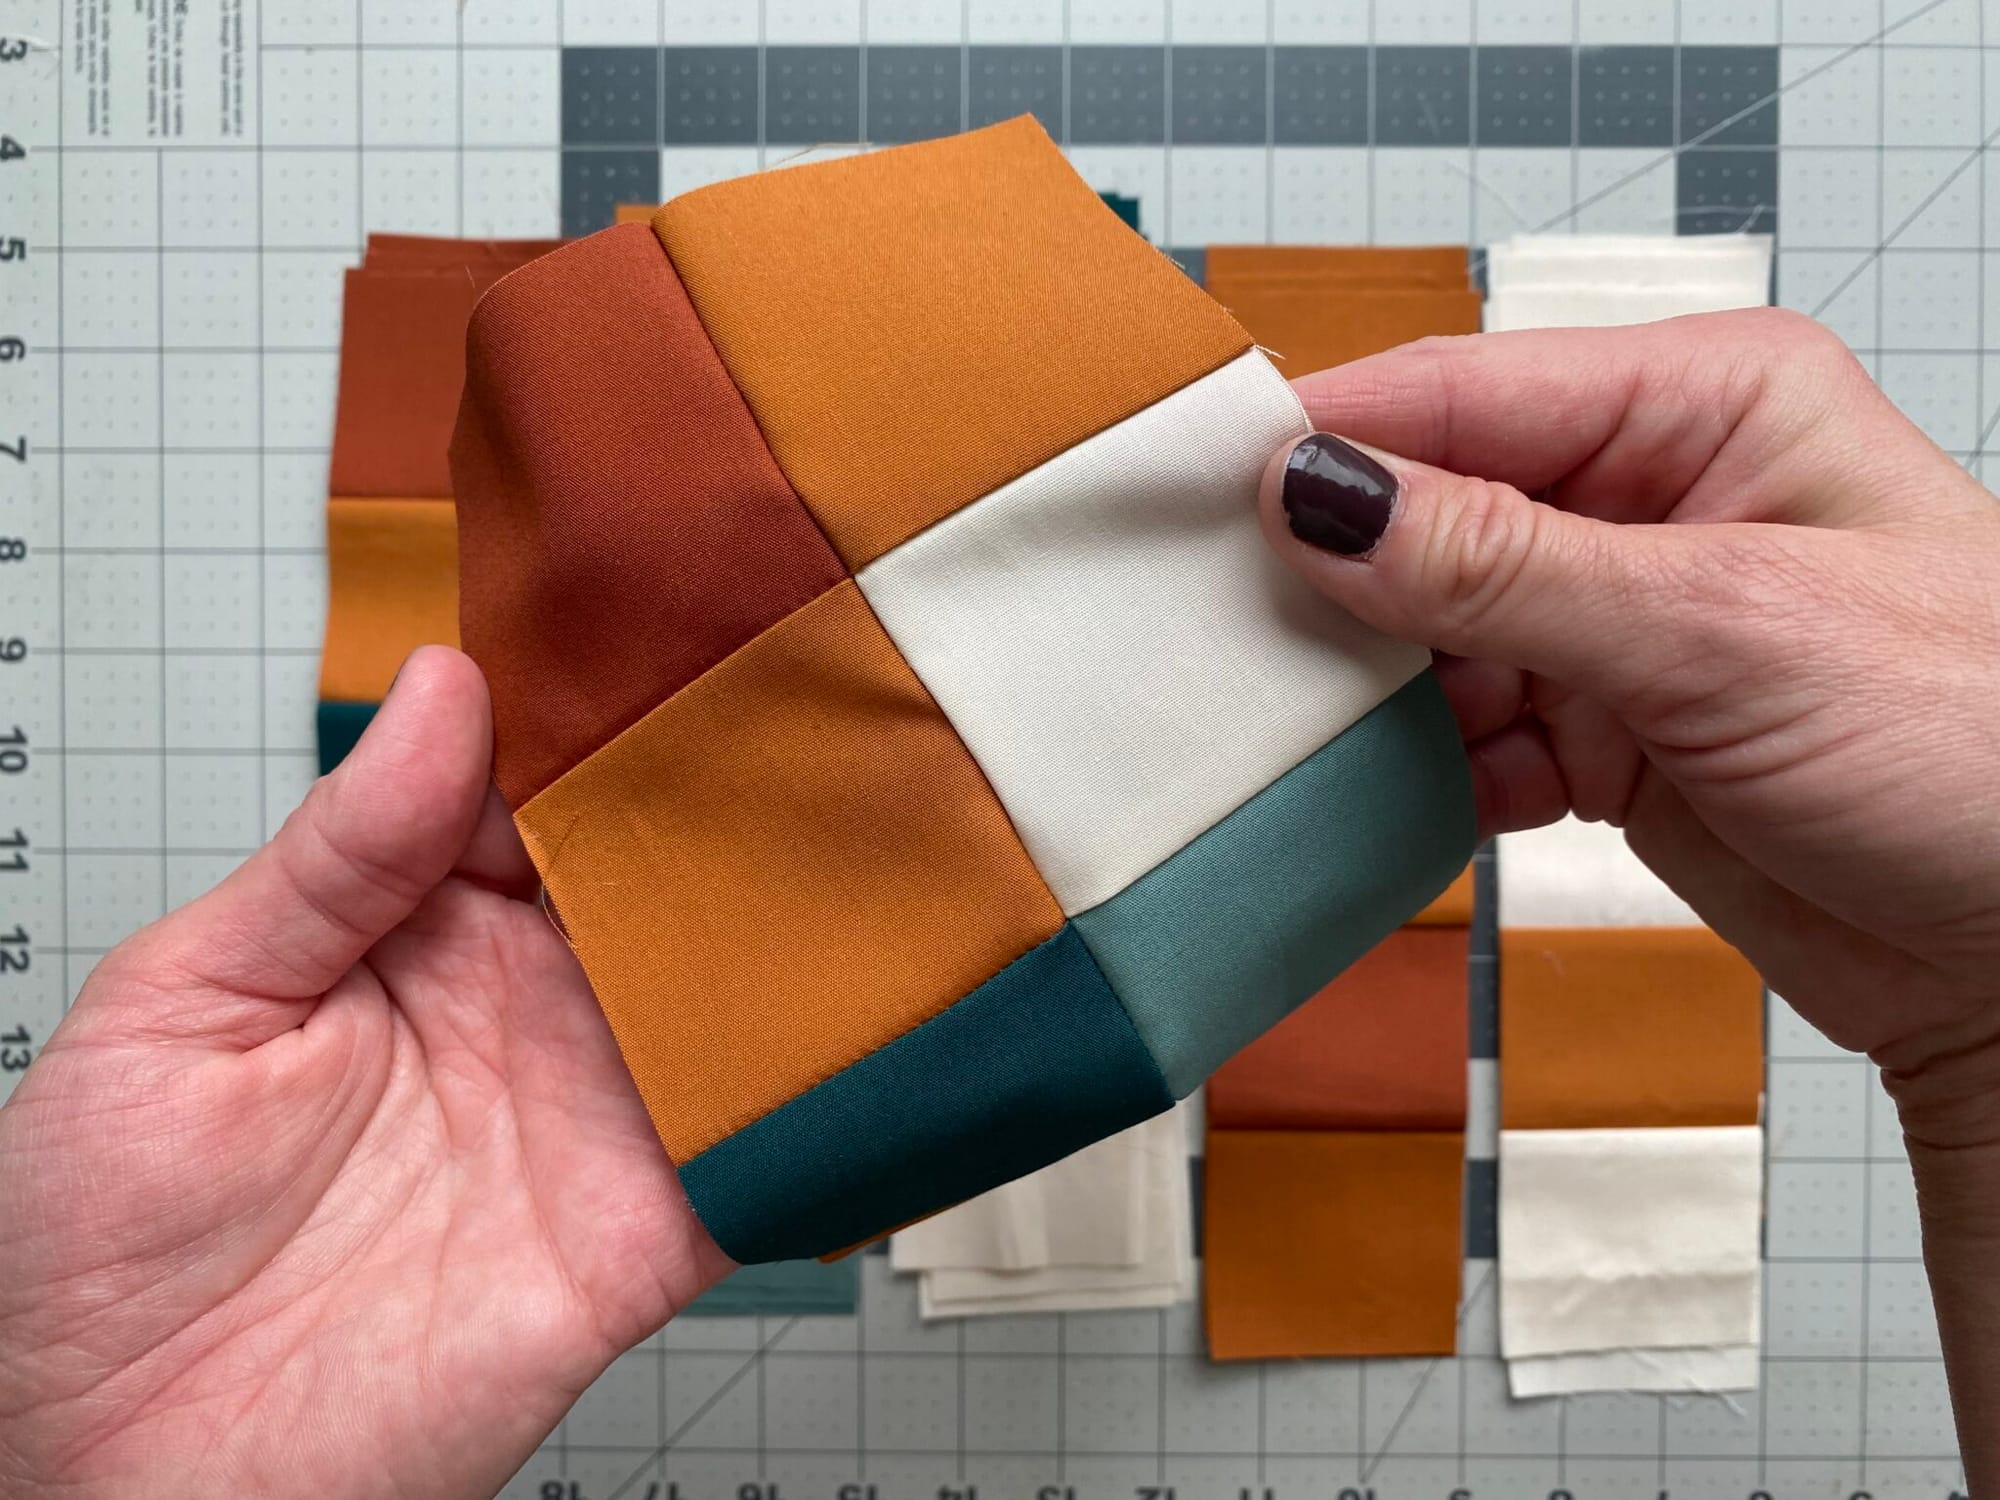
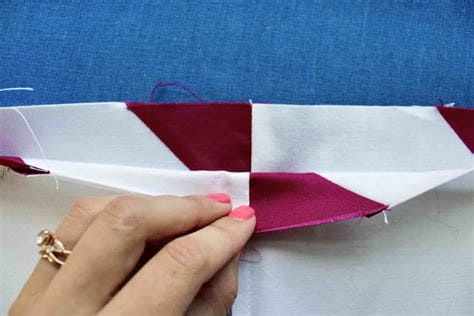
Examples of nested quilting seams in various piecing stages
Professional Pressing Guide for Flat Quilt Tops
Essential Tools for Professional Results
- Quality Iron: Steam-capable iron with temperature control
- Large Ironing Surface: Adequate space for maneuvering your quilt top
- Pressing Cloths: Cotton or linen cloths for protecting delicate fabrics
- Fabric Sizing: Products like spray starch for crisp finishing
Step-by-Step Pressing Process
- Clean Equipment: Ensure your iron plate is spotless to avoid transfer marks
- Section Work: Press in manageable sections, avoiding dragging motions
- Seam Direction: Follow pattern instructions for seam pressing direction
- Final Check: Lay the completed top on a flat surface to verify smoothness
Understanding Longarm Quilting Costs and Requirements
Pricing Structure
Most professional longarm quilters calculate fees based on total square inches:
- Standard Formula: Length × Width × $0.025 per square inch for basic density quilting
- Pattern Complexity: Intricate designs may cost more
- Size Limitations: Most services accommodate quilts up to 120″ × 120″
Additional Service Fees
Be aware of potential extra charges:
- Thread Removal: Excessive loose threads may incur a $15 trimming fee
- Complex Repairs: Minor fixes can be handled in-shop, but complex issues may cost $25/hour
- Heavy Pressing: Quilts with hard wrinkles or creases may require additional pressing fees
Common Mistakes to Avoid
Preparation Pitfalls
- Skipping Edge Basting: Unbasted outer seams often pop open during longarm quilting
- Ignoring Thread Cleanup: Loose threads become permanent shadows once quilted
- Improper Squaring: Non-square tops create loading difficulties and poor results
- Inadequate Pressing: Wrinkled tops require additional preparation time and costs
Service Communication Issues
- Unclear Direction Marking: Always mark top orientation clearly
- Missing Damage Reports: Document any existing issues before service
- Unrealistic Expectations: Understand that some preparation issues cannot be fixed post-quilting
Choosing the Right Longarm Quilting Service
Questions to Ask Potential Services
- What are their specific preparation requirements?
- How do they handle quilts that aren't perfectly square?
- What is their pricing structure for different quilting densities?
- Do they offer consultation on pattern and thread selection?
- What is their typical turnaround time?
Red Flags to Avoid
- Services that don't provide clear preparation guidelines
- Unrealistic pricing that seems too good to be true
- Poor communication or unwillingness to answer questions
- No examples of previous work or customer testimonials
Maintaining Your Investment: Post-Quilting Care
Once your quilt returns from professional longarm quilting:
Immediate Steps
- Gentle Inspection: Check the quilting quality and overall finish
- Binding Preparation: Your quilt is now ready for binding application
- Storage Considerations: Store flat or properly folded to maintain the quilting integrity
Long-Term Care
- Washing Instructions: Follow care guidelines provided by your quilting service
- Display Options: Consider rotation if displaying to prevent uneven fading
- Repair Awareness: Address any issues promptly to prevent further damage
Conclusion: Investing in Professional Results
Proper preparation of your quilt top for longarm quilting services is an investment in the final quality of your finished quilt. By following these detailed preparation steps, you ensure that your handcrafted creation receives the professional finishing it deserves.
Remember that the time spent in careful preparation pays dividends in the final result. A well-prepared quilt top allows the longarm quilter to focus on creating beautiful quilting patterns rather than working around preparation issues.
Whether you're creating a family heirloom, a gift for someone special, or adding to your personal collection, professional longarm quilting services can transform your pieced top into a stunning finished quilt that will be treasured for generations.
Ready to take the next step? Contact professional longarm quilting services in your area to discuss your project and ensure your quilt top receives the expert finishing it deserves.
About the Author
This guide was prepared by quilting professionals with years of experience in both quilt creation and longarm quilting services. For more quilting tips, techniques, and inspiration, visit our blog regularly for expert advice and community insights.